I have done a nice drawing of the tandem bike in a form that could look a lot like a finished product. The idea of a folding compact tandem would be an interesting on to try out.


 more. Here are some drawings of the design. I have no idea if it would work or not but it is fun to draw it up at least to see if the concept works or not. On paper at least, it works out.
  tandem set-up by basicly copying single drawing and adding 20" on to the bike. I then altered frame to make it into the tandem set-up. A drawing showing the tandem folded up is included on the page.
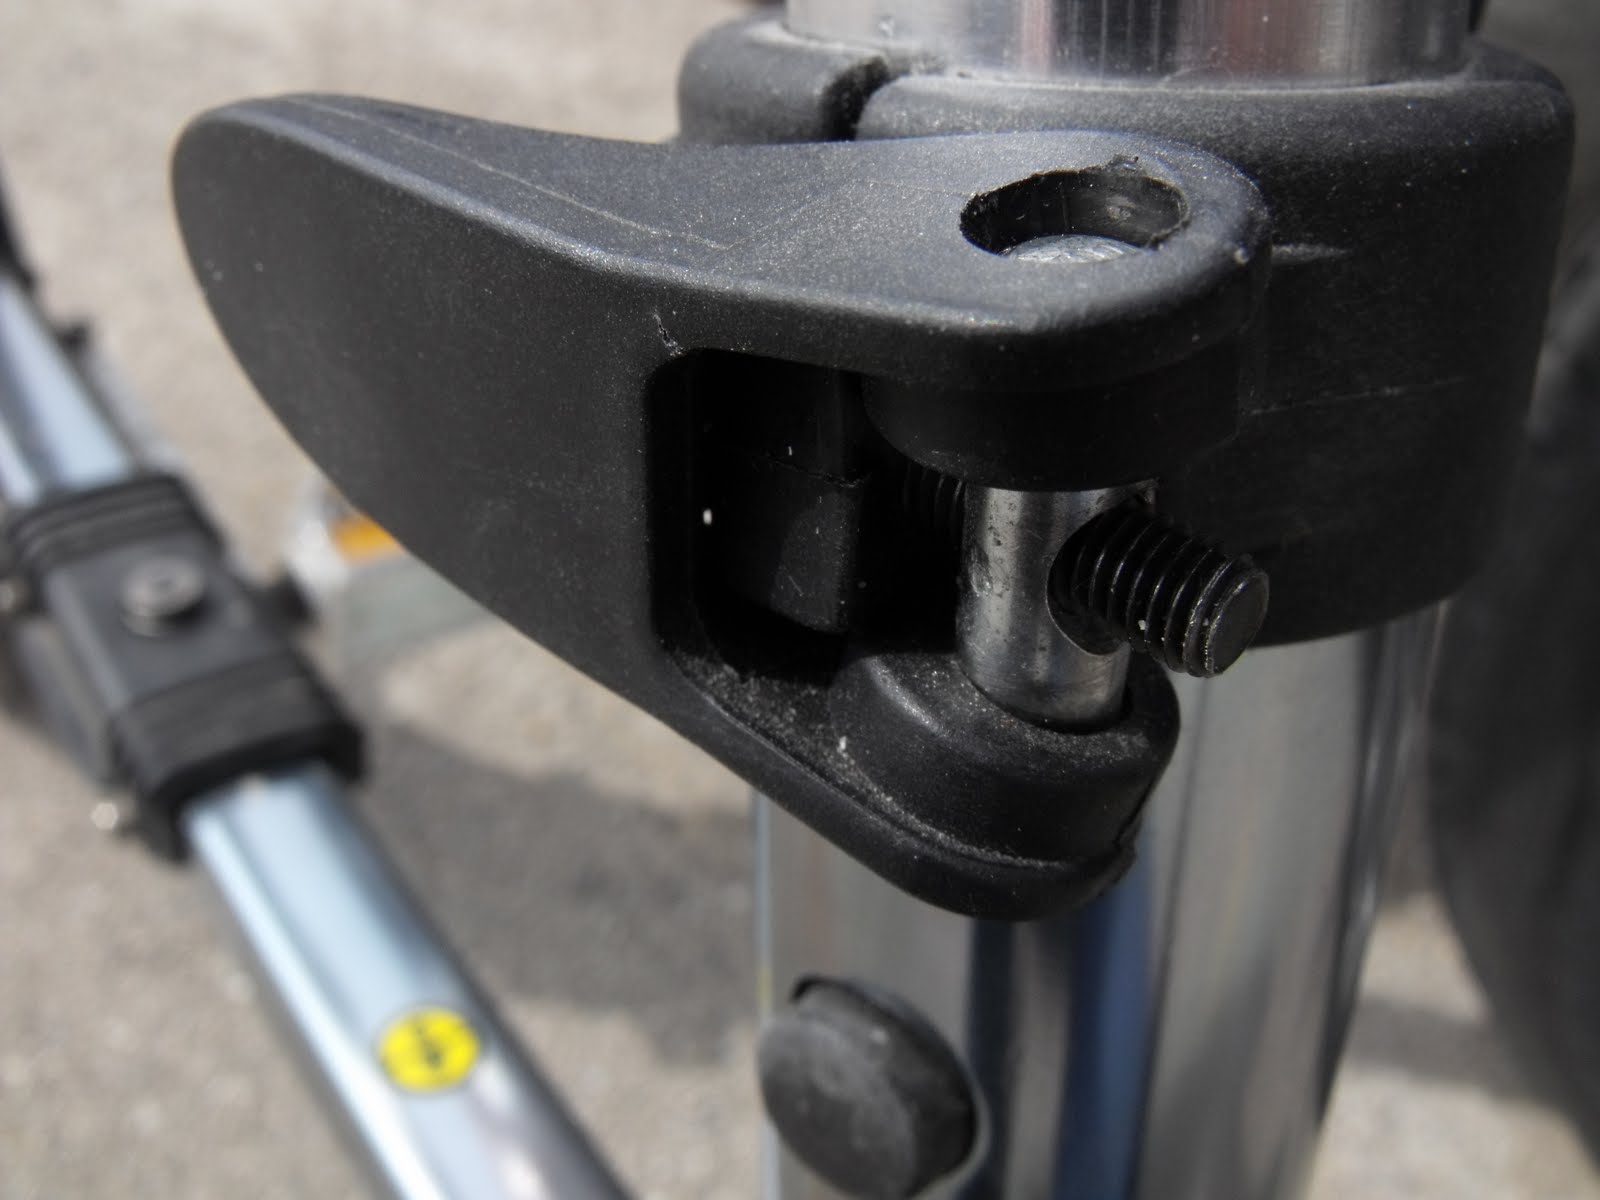 rall bike is working great, small details items have shown signs of wear. Over the winter time, I noted the front locking assembly lever had become slightly bend out of place. I removed it from it's assembly and tried to fix it. It had become slightly bent out of place but I did manage to put back into the pin again. The rear section of the lever has been somehow damaged so I just held the edges of the lever on the pin while tightening up screw on to the frame lock assembly. The lever needs replacing for it to allow the lever to lock and unlock the quick release properly. For now, I have it working so it holds the quick release assembly section together.
 gh ride on the bike makes any part that can not withstand bumps will break at some point. Since this was just a very cheap way of getting my first bike light into place, it did not have a long life span on it. The original light design was just a book light. It was not ever really designed for bike use. The remaining broken section has been removed from the bike.
 how different is is from the others.
 w. I had to readjust the chain so it is tight again. There was a bit of slipage on the chain that was connected to the drive wheel. I also took the drive train casing apart to see how well insides where holding up. It is holding up well. Once the adjustments where made, it rode far better. Climbing small
 er hills in the area where done with no slipping of the gear drive train.